A few years back, I made Martin a solar box cooker for his birthday. It still seems 'magic' to me: who would have thought you could make a real oven that really gets hot using only the sun and a bunch of 'rubbish'?!
Recently I was asked for some guidance by someone else wanting to make one. My reply is below.
Note that there are three main kinds of solar cookers (box, panel and parabolic) - these notes are for a box cooker.
Recently I was asked for some guidance by someone else wanting to make one. My reply is below.
Note that there are three main kinds of solar cookers (box, panel and parabolic) - these notes are for a box cooker.
Box
Basically, our cooker is a small box surrounded by a bigger box with insulation in-between. You want the small box to be only about 10-12cm deep - any deeper and it doesn't get so hot - but it can be as big as you want.
You need to surround the base and sides of the smaller box with insulation. I used quilt batting, as I happened to get given heaps at about that time :-) The simplest thing to use is probably paper. You want your layer of insulation to be about 5cm thick, so your bigger box needs to be about 5cm taller and 10cm wider and longer than the other box.
To achieve this, I started with a banana box as my 'big'/outer box, and cut it down to about 15-18cm tall. I then took a second banana box to be my smaller/inner box and cut it down to about 10-12cm tall and 10cm shorter and less wide than the original banana box. That gave a 5cm gap between the two boxes on each side and underneath.
I then packed in quilt batting between the two boxes and sealed the gap between the two boxes on the top surface with duct tape.
 |
| Here you can see the silver duct tape sealing the gap between the two boxes (ignore the crinkly plastic over the top - that was our first attempt at glazing, which worked remarkably well but quickly fell apart) |
I wasn't sure if it was best to make the inside of the small box reflective (so that the heat all got directed to the cooking vessel) or to make it black (so that it absorbed all the heat). I compromised and lined the sides with aluminium foil but painted the bottom black. Next time I would line it with aluminium foil and not bother painting it.
There's more info on designing the box part of your cooker here.
Glazing
For the box to heat up properly, you absolutely have to put at least one sheet of glass on top of it. This holds the sun's heat inside the box so it can get hot, just like how the windows of a car trap the heat when you leave your car in a sunny spot.
Ideally you double-glaze the box - i.e. you make a lid for your box out of two sheets of glass with a gap of around 2cm between them. The glass must be either safety glass or quite thick glass: we originally used quite thin ordinary glass and it cracked from the heat on its first use.
Our cooker lid is made of a fridge shelf and the glass from a microwave oven door (both of which are safety glass), held apart with a thin sheet of polystyrene. Whatever you use to hold the glass apart, it needs to be insulating - so wood would also be fine, as would plastic, but metal would let the heat out.
Because the top of our cooker isn't perfectly flat, we put a layer of woollen blanket around the edges of the top of the box to make a good seal between the box and the glazing.
 |
| Double-glazing unit on top of the cushioning seal of a colourful crocheted blanket |
There's more info on glazing your cooker here.
Reflectors
You don't need to have reflectors to make the cooker work - the simplest ones are just a glazed and insulated box (or even tyre!) - but you get higher temperatures if you use them. You can have a reflector on anything from just one to all four sides of your cooker, or you can use a reflective funnel.
There's good info on making reflectors like ours here; and info on making a funnel reflector here.
I decided to have four reflectors: two from corflute real estate signs (which are nice and light) and two from cardboard (as I didn't have enough corflute). I figured out the size using these instructions and glued aluminium foil to them with thinned down white/PVA glue as they describe.
I made them so that the reflector on one of the long sides of the box was permanently attached and the others were separate. That allows us to pack the cooker down pretty well. There are loops of cardboard on three sides and the reflectors have cardboard 'tails' that slot into these. All four reflectors have velcro on their edges so that they are can be firmly attached to each other when in use.
 |
| Cooker packed down for storage |
Thermometer
We installed a cardboard loo roll tube inside our cooker. When the cooker's in use, we pop a meat thermometer into the loo roll so we can see the internal temperature. I've had it up to 150 degrees C! That's just as good as people get with commercial solar cookers, which are typically rated to somewhere between 125 and 175 degrees C.
|
| The thermometer is in the bottom right of this image |
Using the cooker
You need to point the cooker so that the glass lid faces the sun. We keep a couple of plant pots with the cooker so we can tip it up on an angle to do this. I then turn the cooker a wee bit every few hours to follow the sun. You need to tip it on quite a sharp angle in the winter and a much shallower one in the summer. The closer to the equator you are, the shallower an angle you'll need.
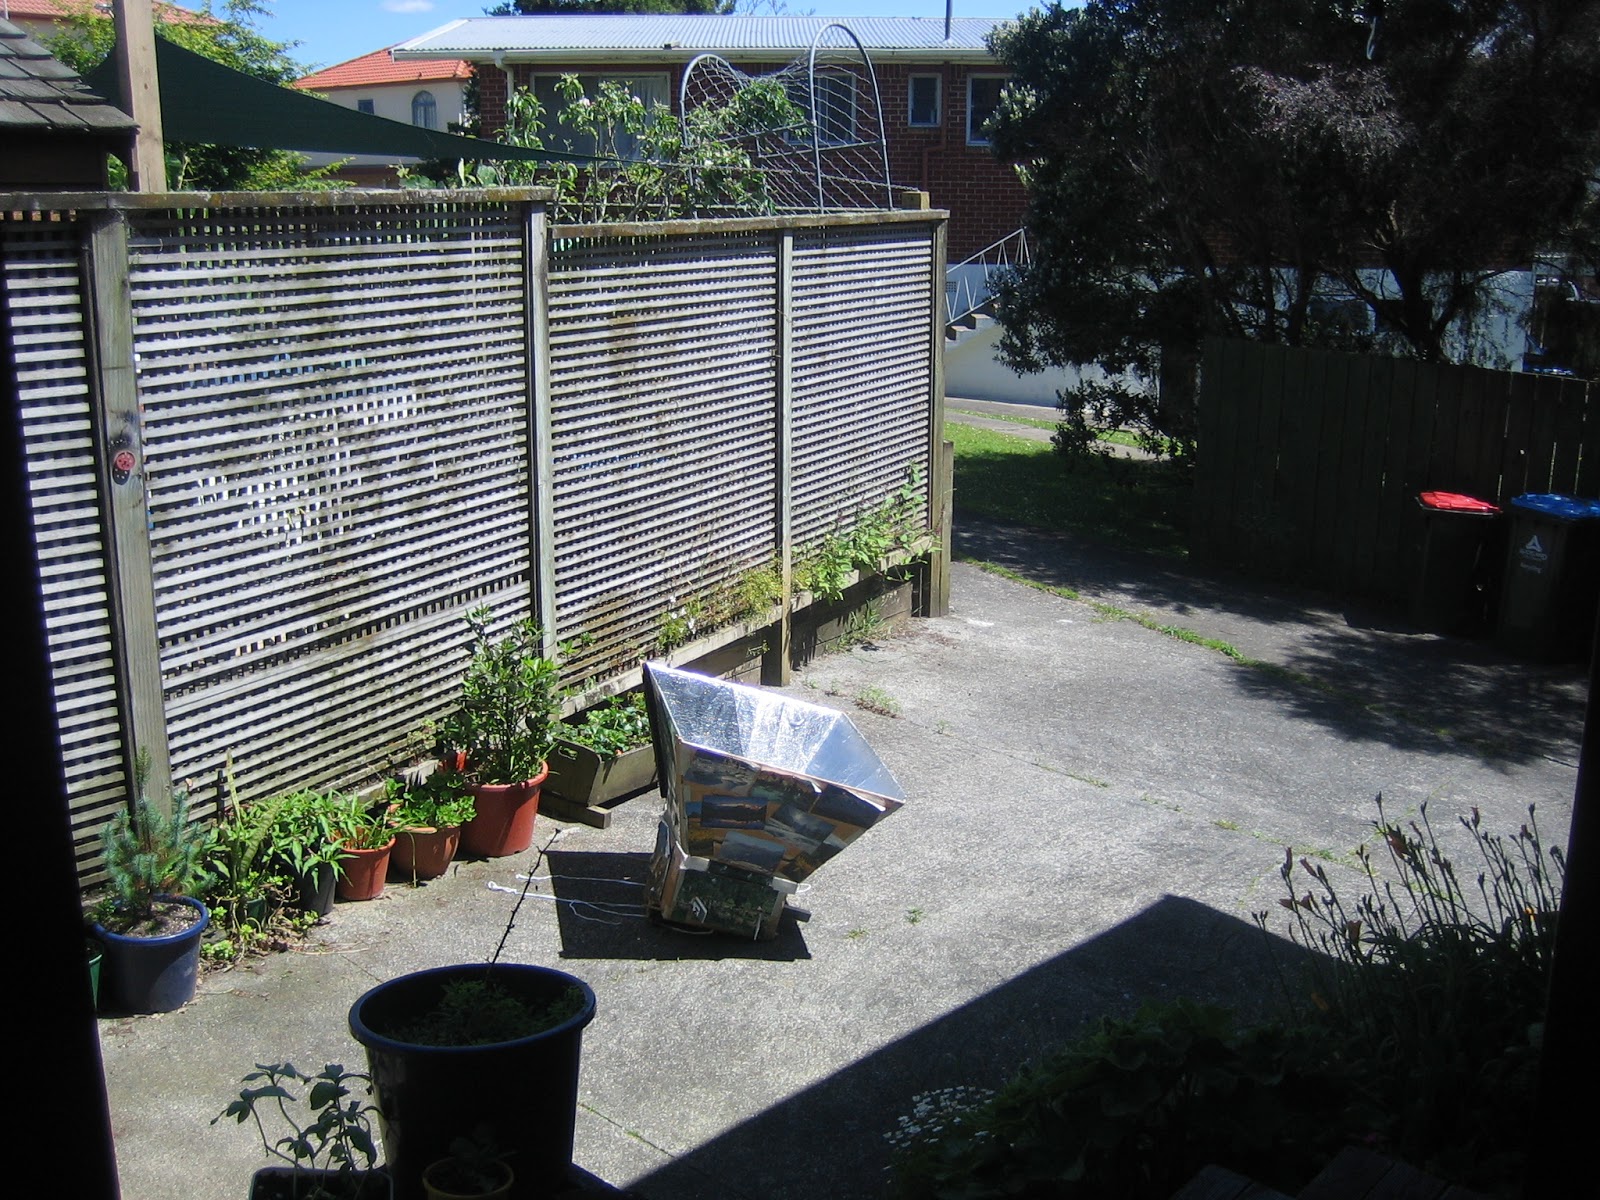 |
| Cooker in use in summer - fairly shallow angle |
 |
| Cooker in use in winter - very steep angle |
Because the cooker works best on an angle (rather than flat on the ground) it's useful to have a bunch of chocks of some kind so you can keep the cooking containers inside the cooker level to the ground.
Note that the solar cooker won't work on a cloudy day. It will work fine on a cold day (I cooked a great solar pavlova in ours when it was only 10 degrees), but not on a cloudy one. Unfortunately that means we've basically stopped using ours - properly clear days aren't that common in Auckland!
There are a number of solar cooking recipes here. You can cook anything that you'd cook in a slow-cooker or crockpot (stews etc.), but I've had good results with baking muffins, brownies and cornbread too as well as both 'scrambled' and hard-boiled eggs and roast vegetables.
To get the best results from your cooker, cook in black containers. A lot of people cook in glass jars that they've painted black. We ended up making a large black bag and we put any pots that aren't black inside that when we use the solar cooker.
Lastly, when you cook anything, remember that even though it's just a modified banana box, it's still very hot inside. Treat it like an oven and use oven mitts when handling the lid or the contents of the box!


No comments:
Post a Comment